
Quickstart
This quickstart walks you through installing the Vault Toolbox Visual Studio Code Extension, connecting to a Vault environment, and running your first VQL query.
Prerequisites
Section link for PrerequisitesTo follow this quickstart, you need:
- Visual Studio Code version 1.95 or later
- A Veeva Vault user account
Installing Vault Toolbox
Section link for Installing Vault ToolboxTo install the Vault Toolbox extension, download the latest version from the Visual Studio Marketplace
Once installed, the Vault Toolbox extension appears under your Installed extensions and its icon appears in the lefthand panel.
Adding and Connecting to an Environment
Section link for Adding and Connecting to an EnvironmentBefore using the Vault Toolbox extension, you must add an environment, which connects the extension to your preferred Vault.
To add and connect an environment:
- Select the Vault Toolbox icon in the lefthand panel.
- Select the Environments (
) tab. - Click Add Environment.
- Enter a Vault DNS, provide an optional Label, select an Authentication Method (Basic, Session ID, or API Access Token), and provide the corresponding credentials.
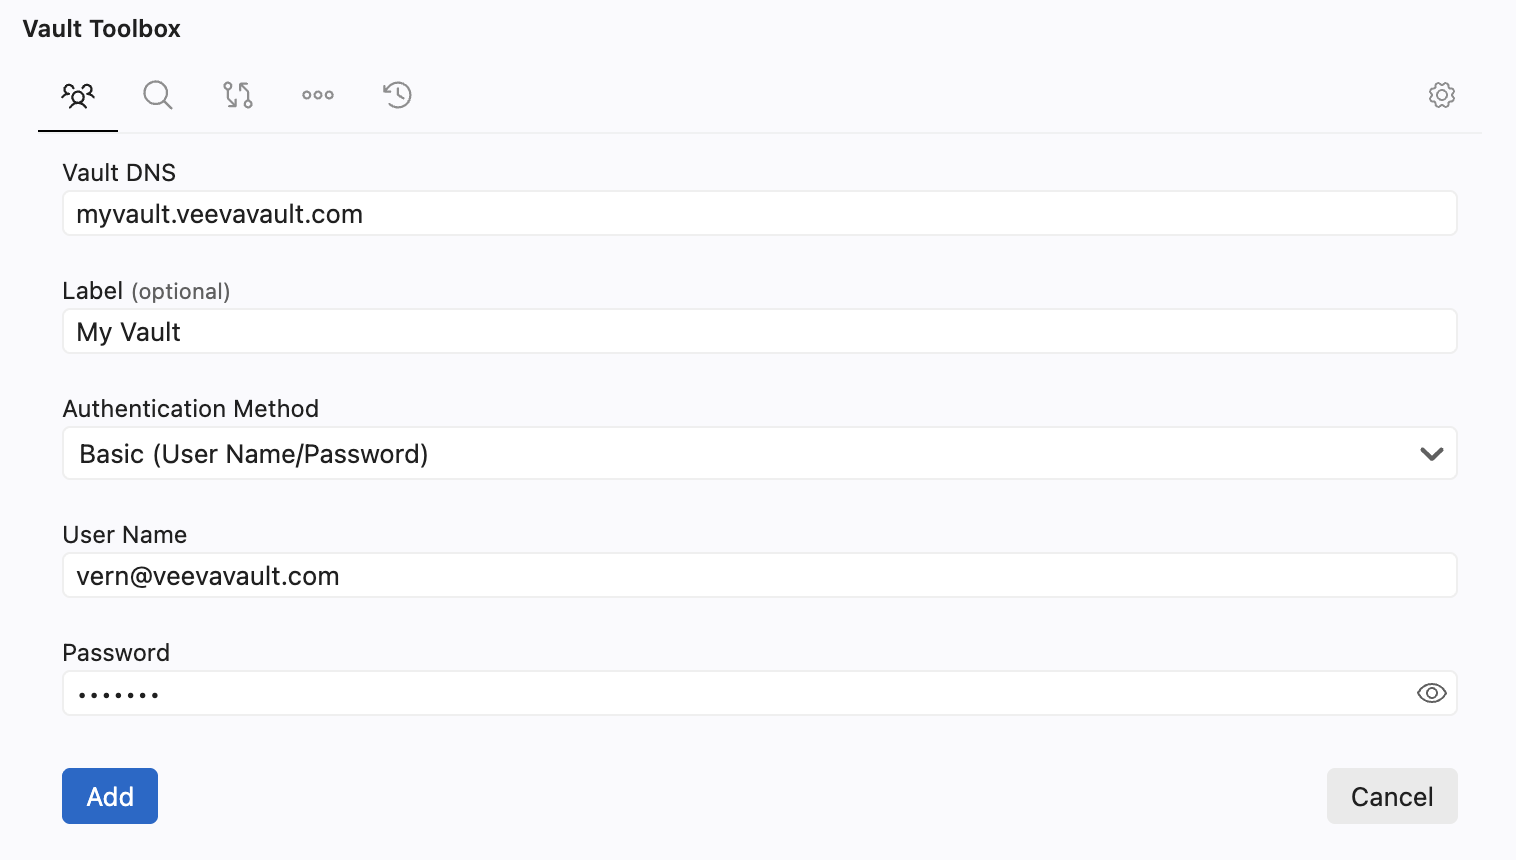
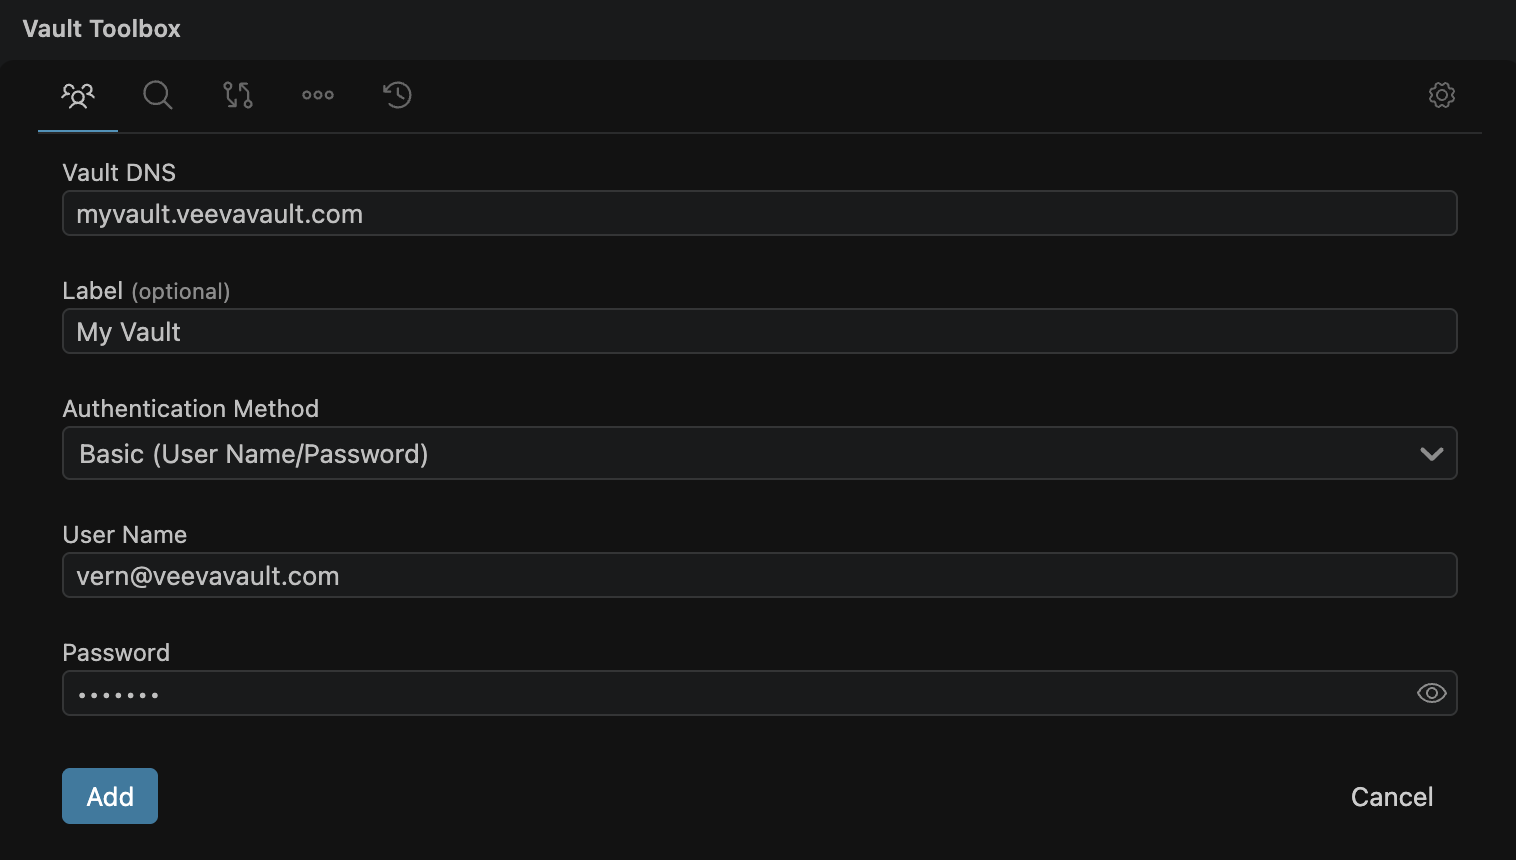
- Click Add. A card for the new environment appears under the list of All Environments.
- Click (
) on the new environment's card to connect.
See Managing Environments for the available authentication methods and how to work with multiple environments.
Running Your First Query
Section link for Running Your First QueryNow that you've added and connected a Vault environment, you can run your first VQL query using the Vault Toolbox extension's VQL Editor tool.
To run a VQL query:
- Select the VQL Editor () tab.
- From the VQL Editor, expand the Query Builder and select Documents as the query Target.
- Within Fields, select the Id and Name fields.
- Click Build Query in Editor. The editor should display the following query:
SELECT id, name__v FROM documents - Click Run VQL.
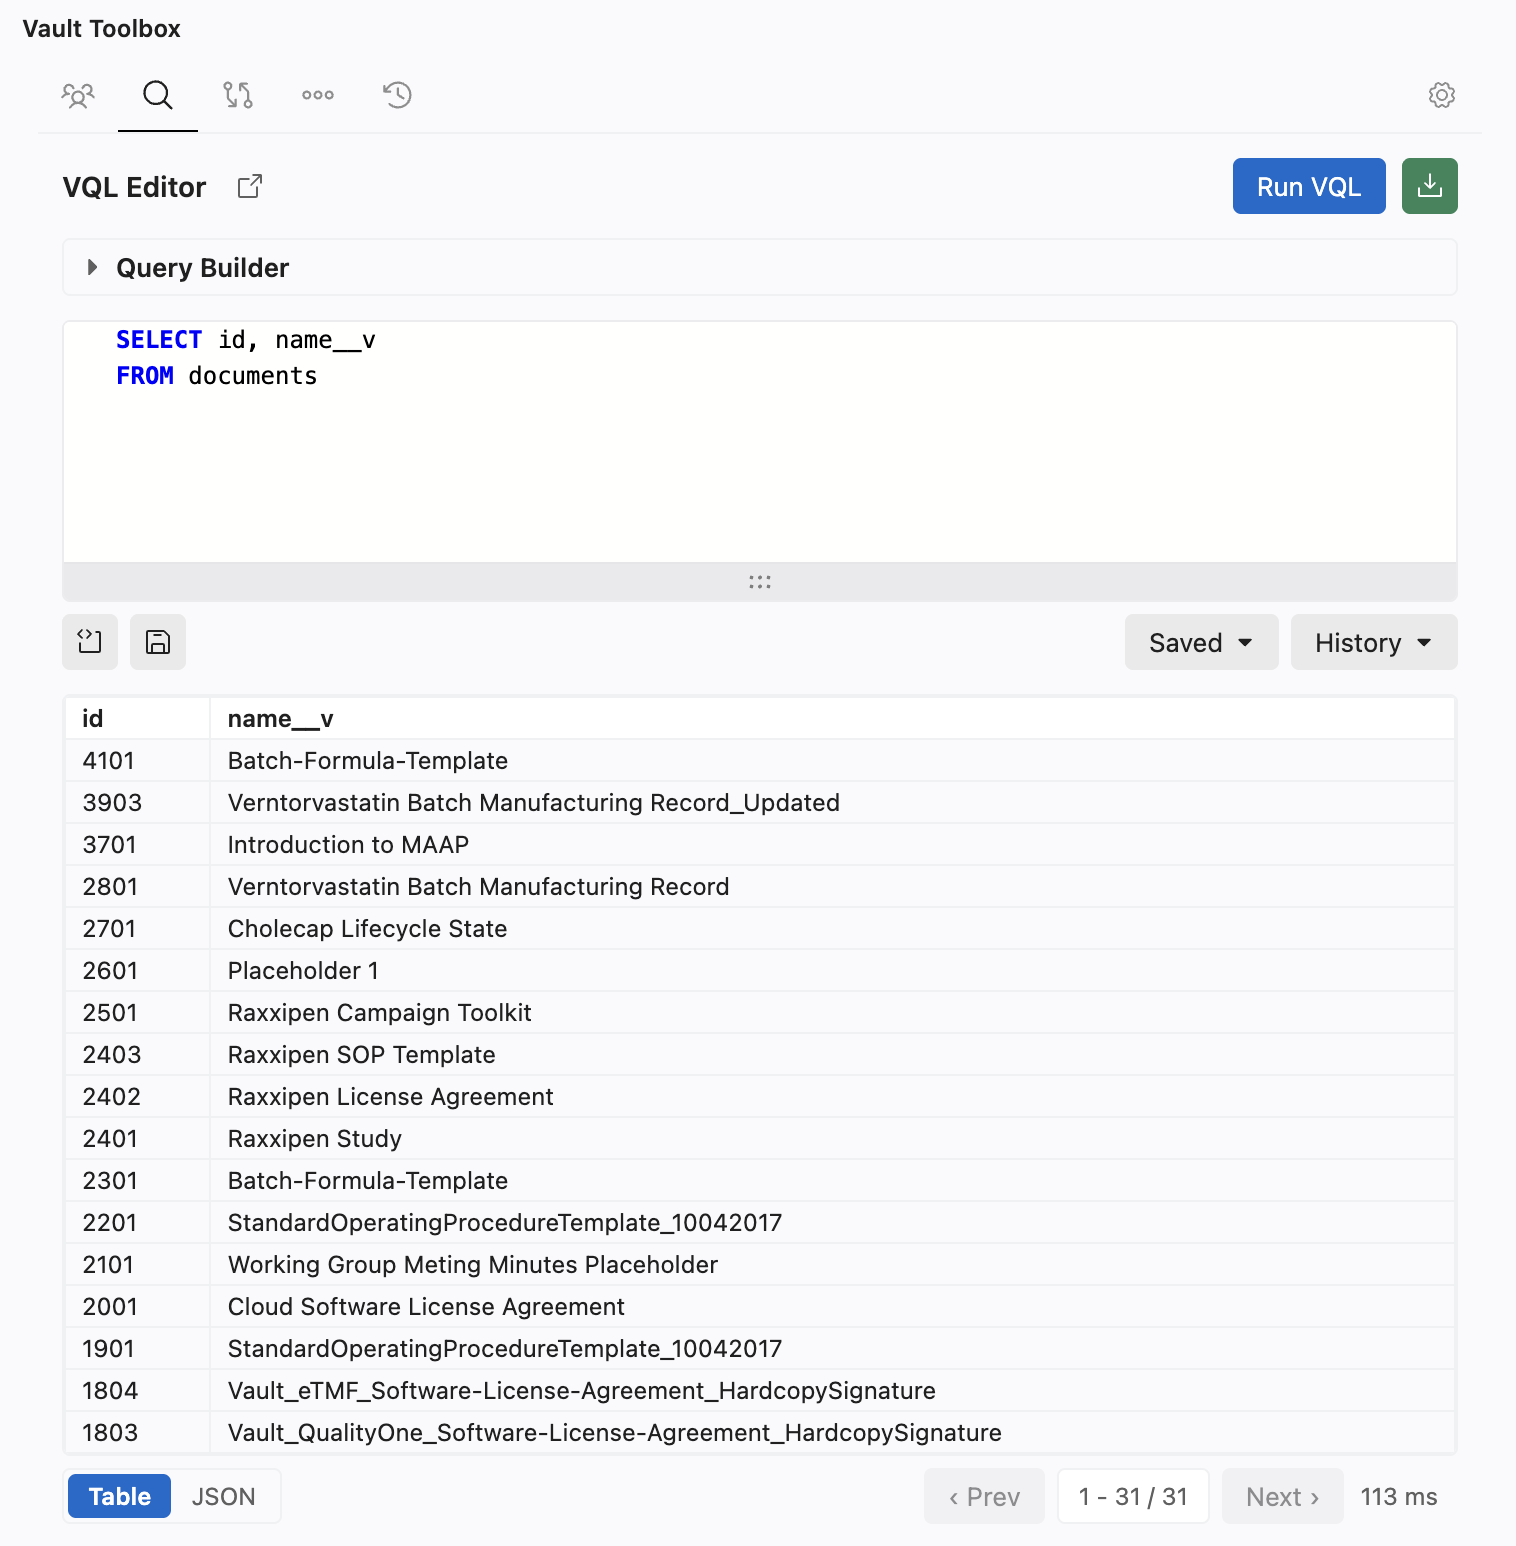
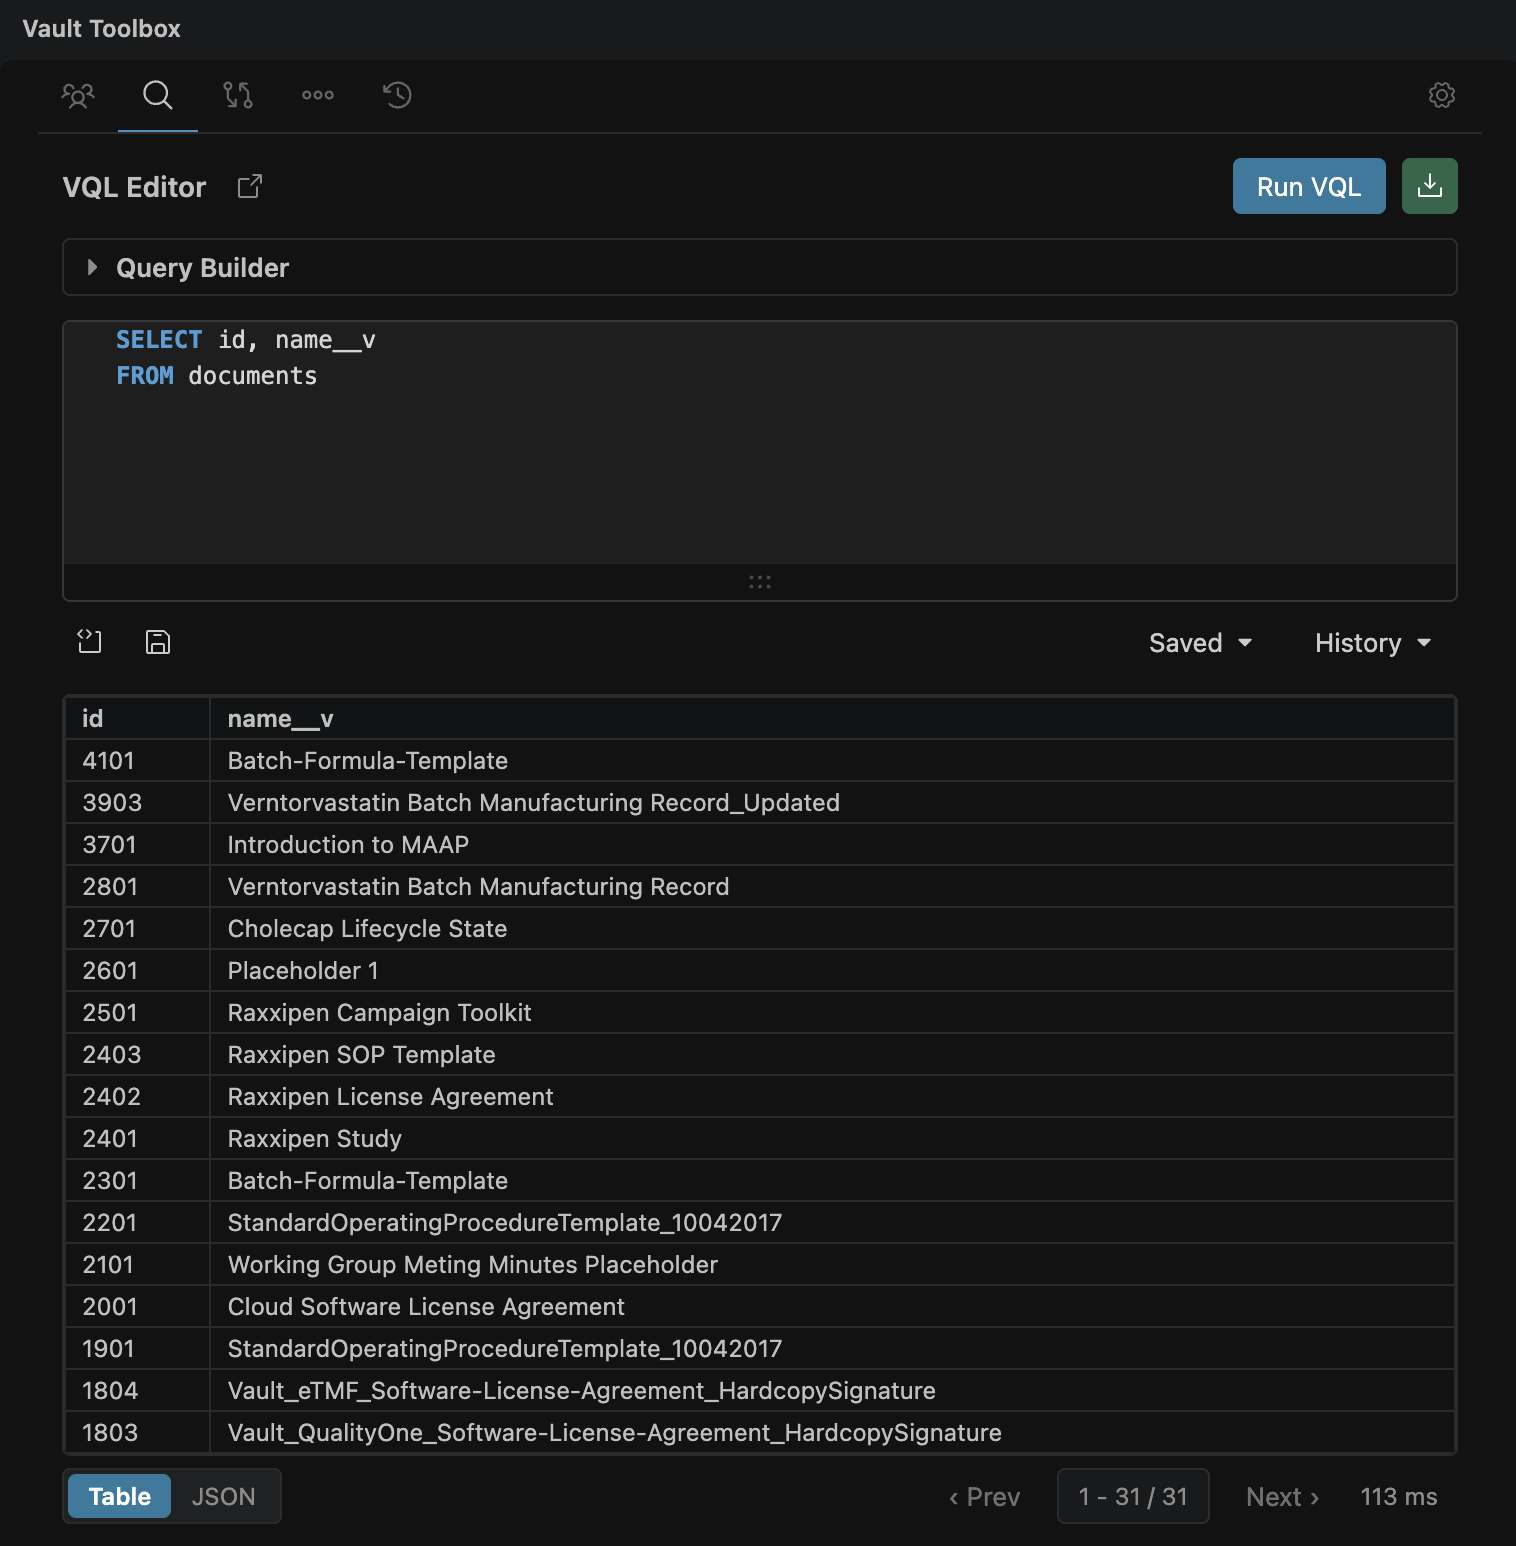
Results display in a table below the editor. See Using the VQL Editor to learn about saving queries, query history, and building queries visually.