
Setting Up OAuth 2.0 with Entra for Integration Accounts
The following guide outlines how to authenticate to Vault API using OAuth 2.0, using a token from Postman to obtain a valid Vault session ID. Integrating external applications with Vault requires an integration user account to facilitate communication between the two systems. These accounts must rely upon OAuth 2.0 to authenticate since they can never access the Vault UI directly. Learn more about configuring OAuth 2.0 profiles
The types of integration user accounts are:
- Non-human: does not require a physical user to authenticate
- API-focused: primarily interacts with systems via APIs rather than graphical user interfaces (GUIs)
Prerequisites
Section link for PrerequisitesYou must satisfy the following prerequisites before proceeding with the authentication process:
-
Register an application with Microsoft Entra and configure OAuth 2.0 profiles
- A Postman account
with the imported Vault Platform Postman Collection
Authenticating with OAuth 2.0
Section link for Authenticating with OAuth 2.0To authenticate with OAuth 2.0:
-
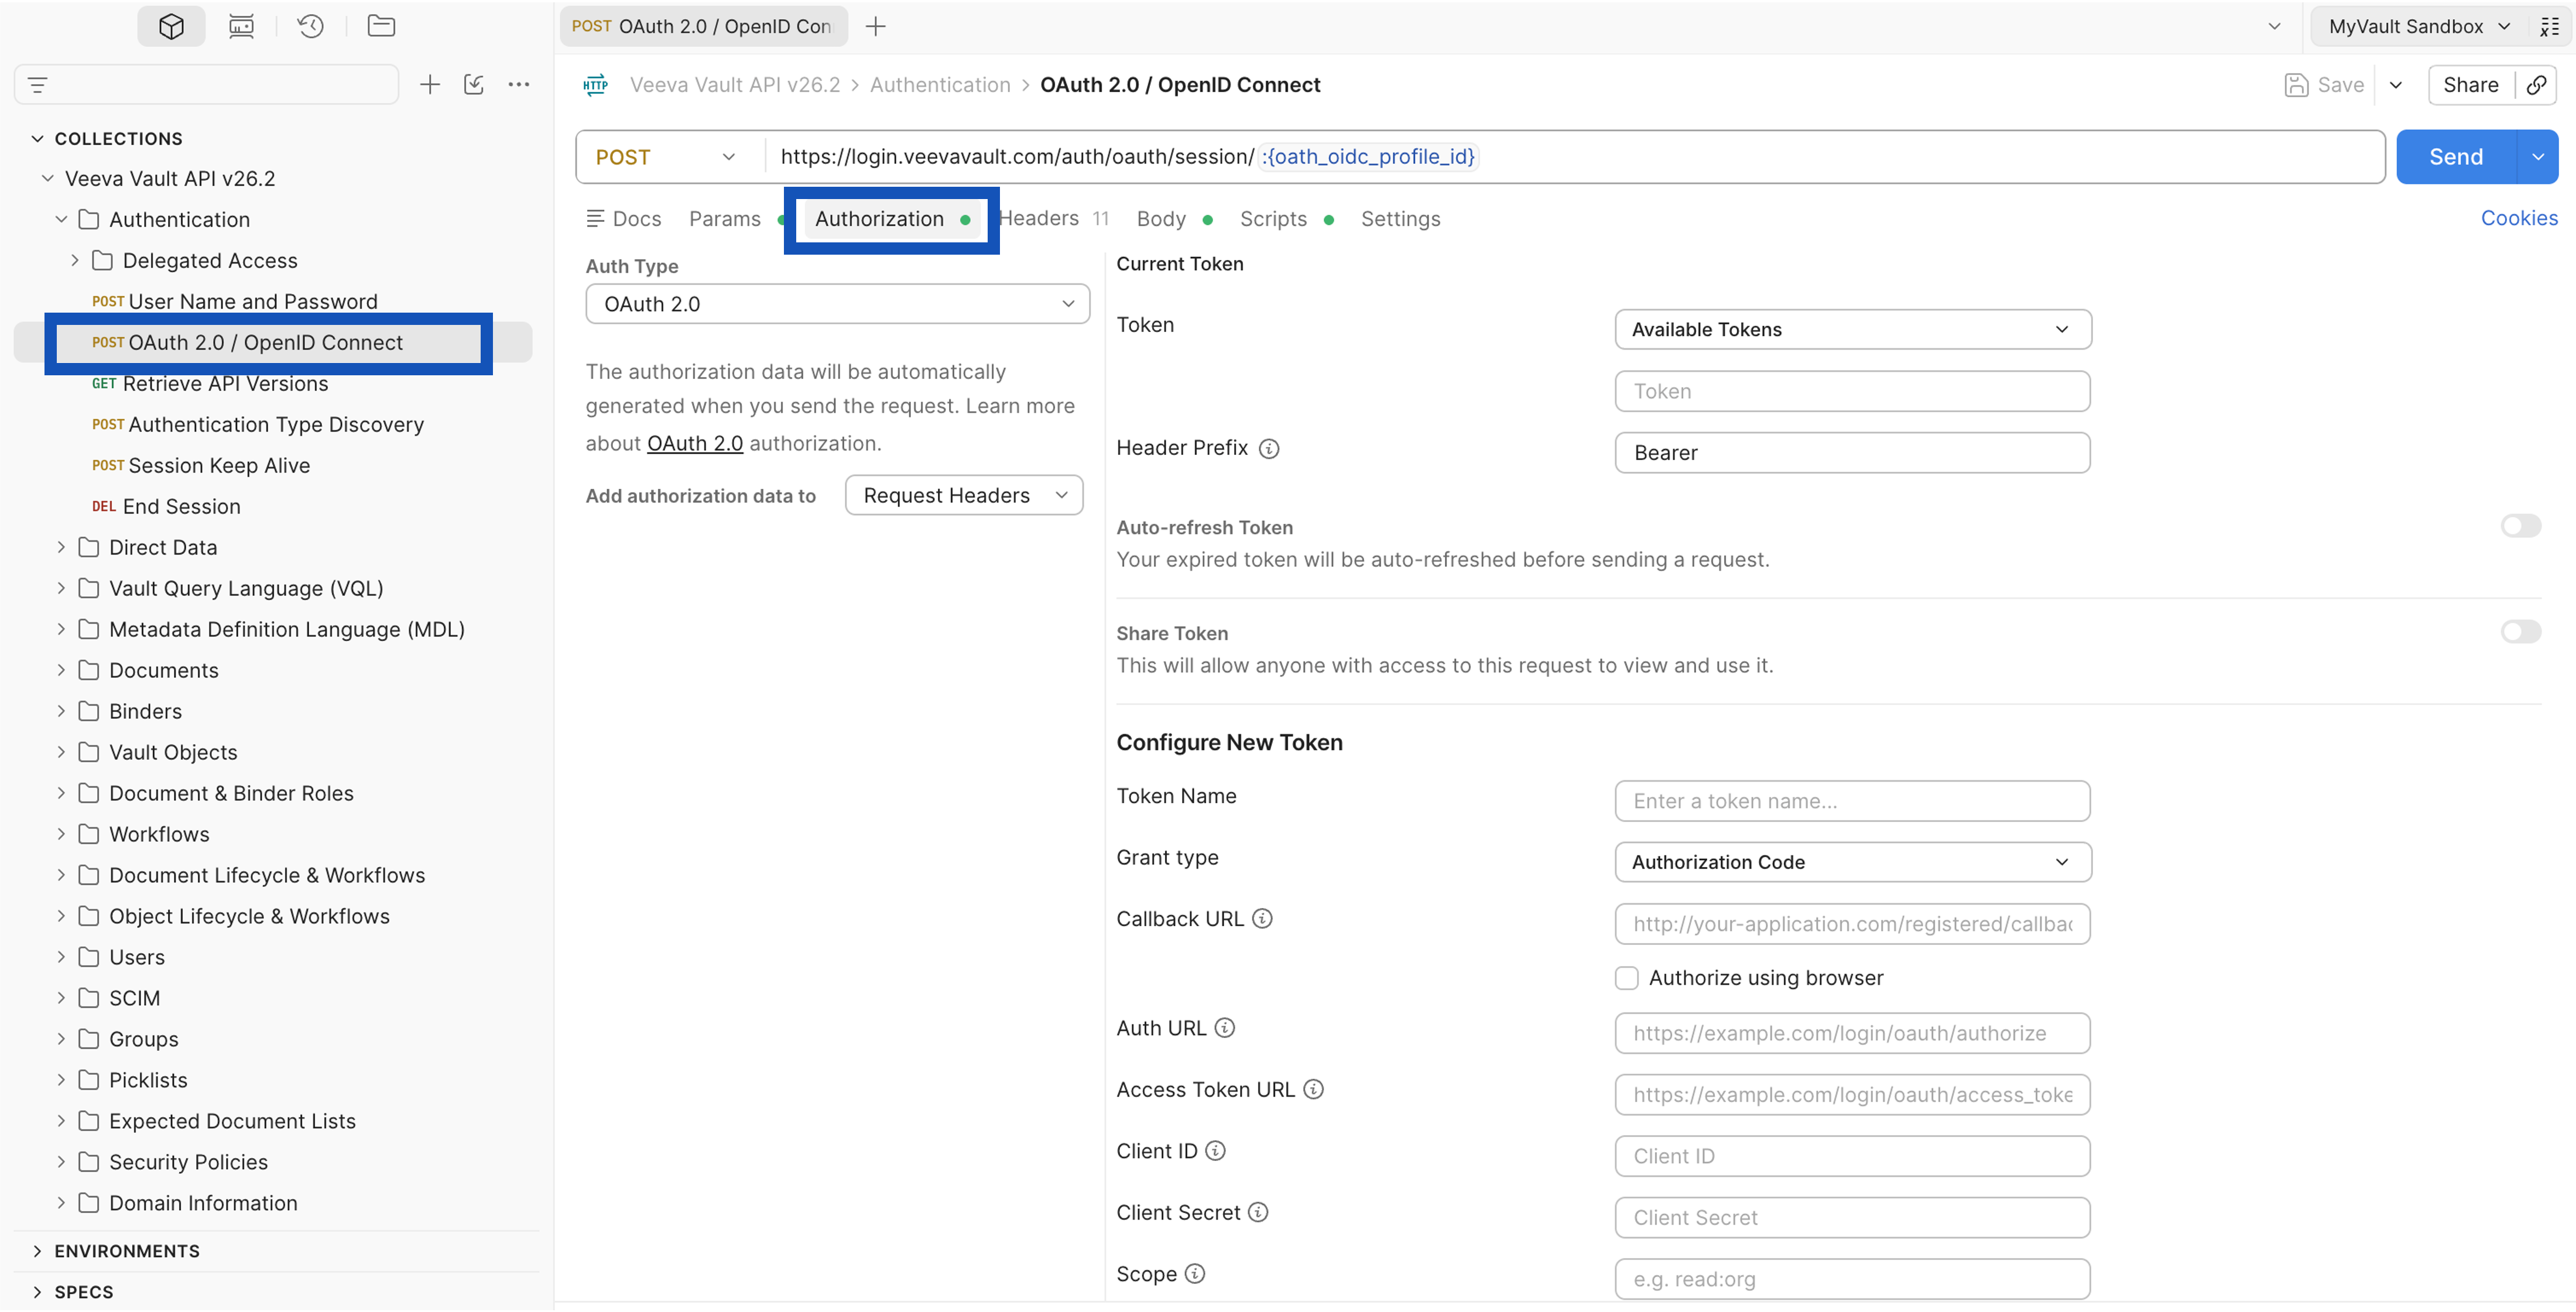
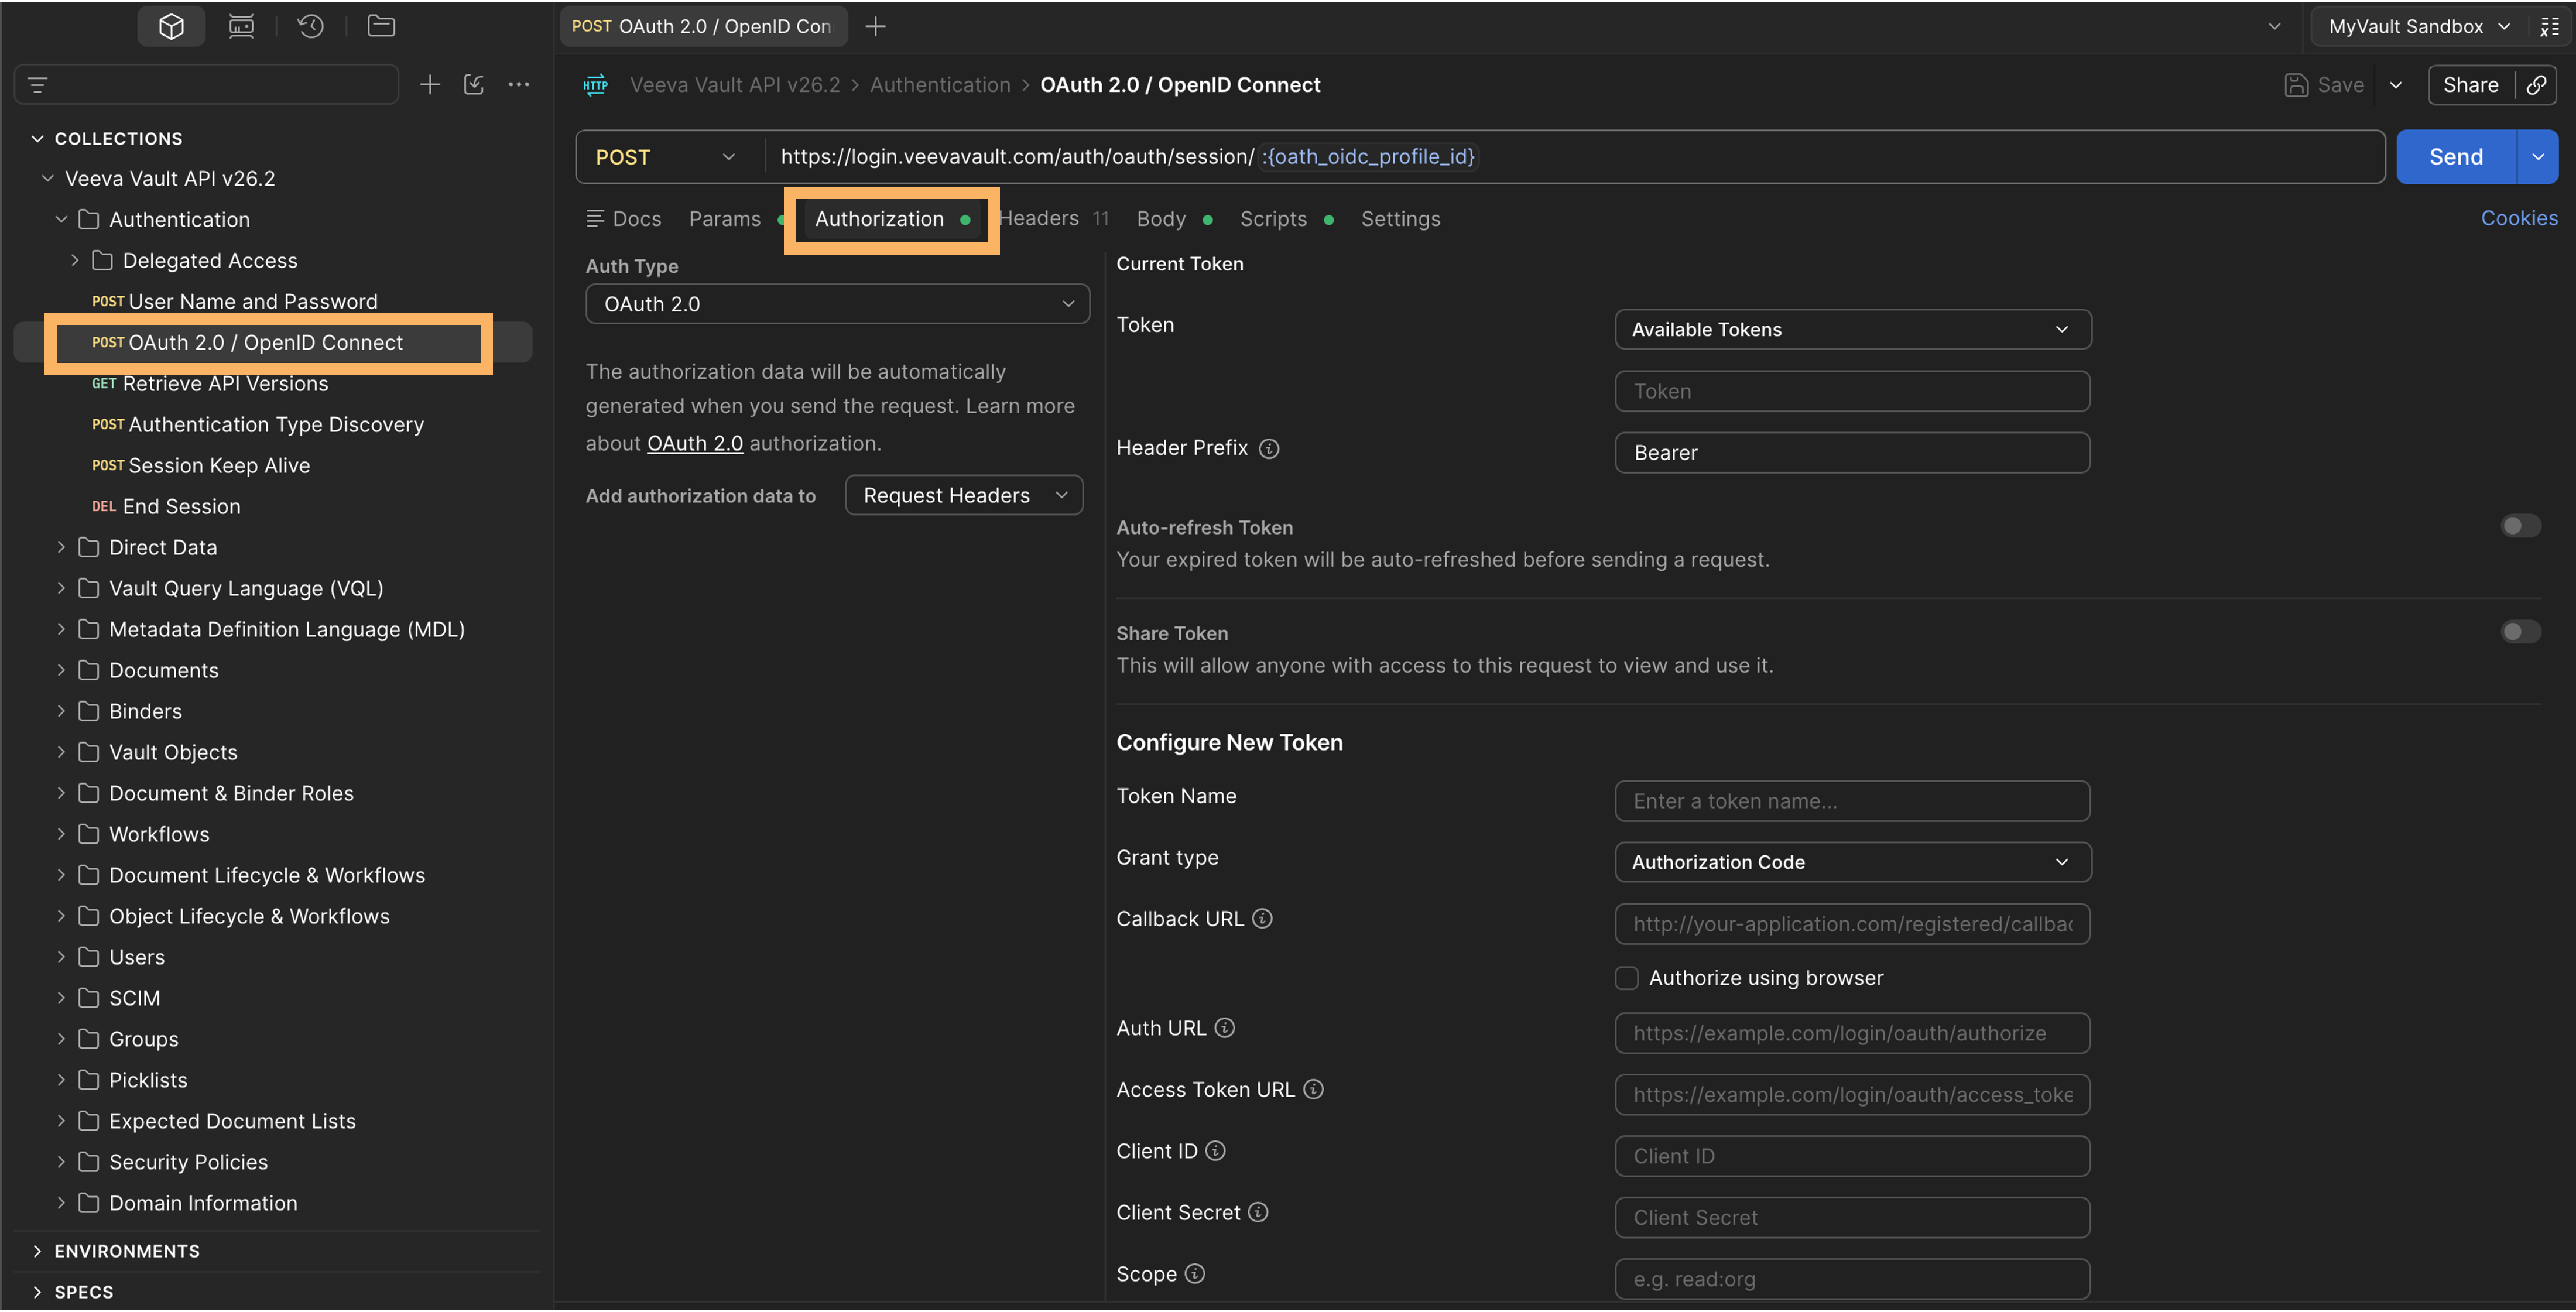
In your Vault Platform Postman Collection, navigate to the Veeva Vault API [version] > Authentication > OAuth 2.0 / OpenID Connect endpoint.
-
Select the Authorization tab and change the Auth Type to OAuth 2.0.
-
Under Configure New Token, set the following values:
- Set Grant type to Authorization Code (With PKCE).
- Select Authorize using browser.
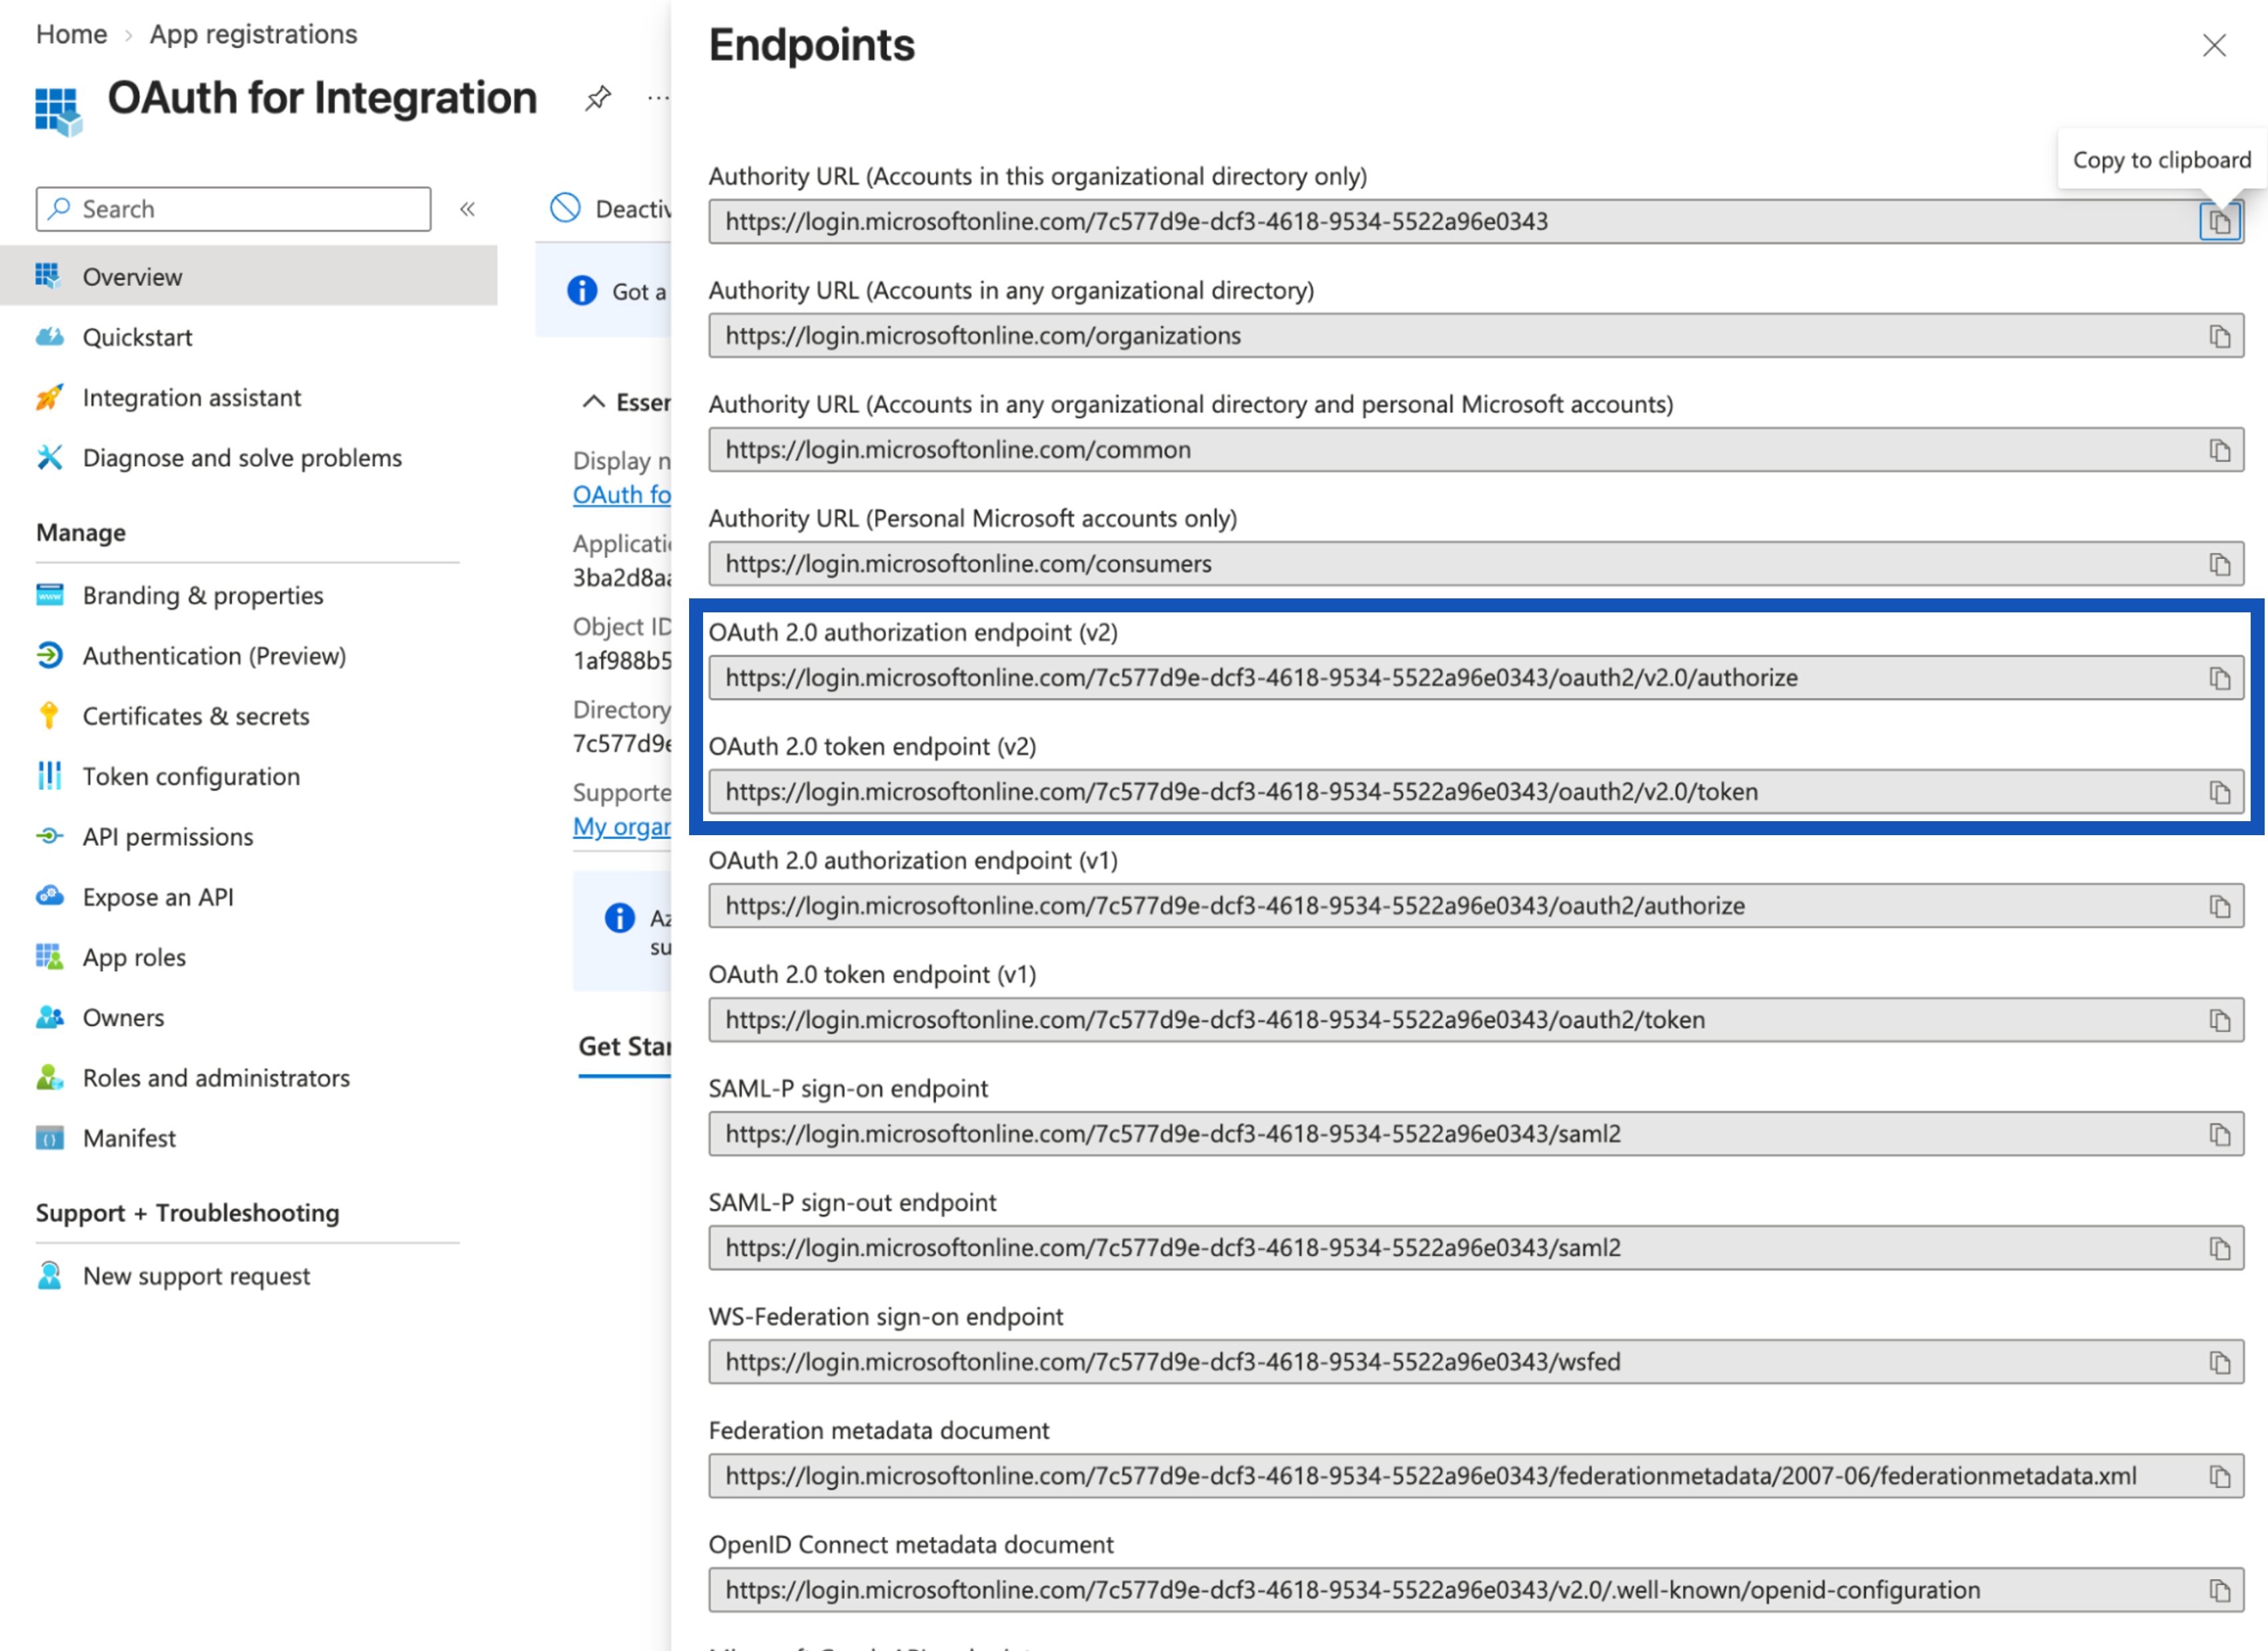
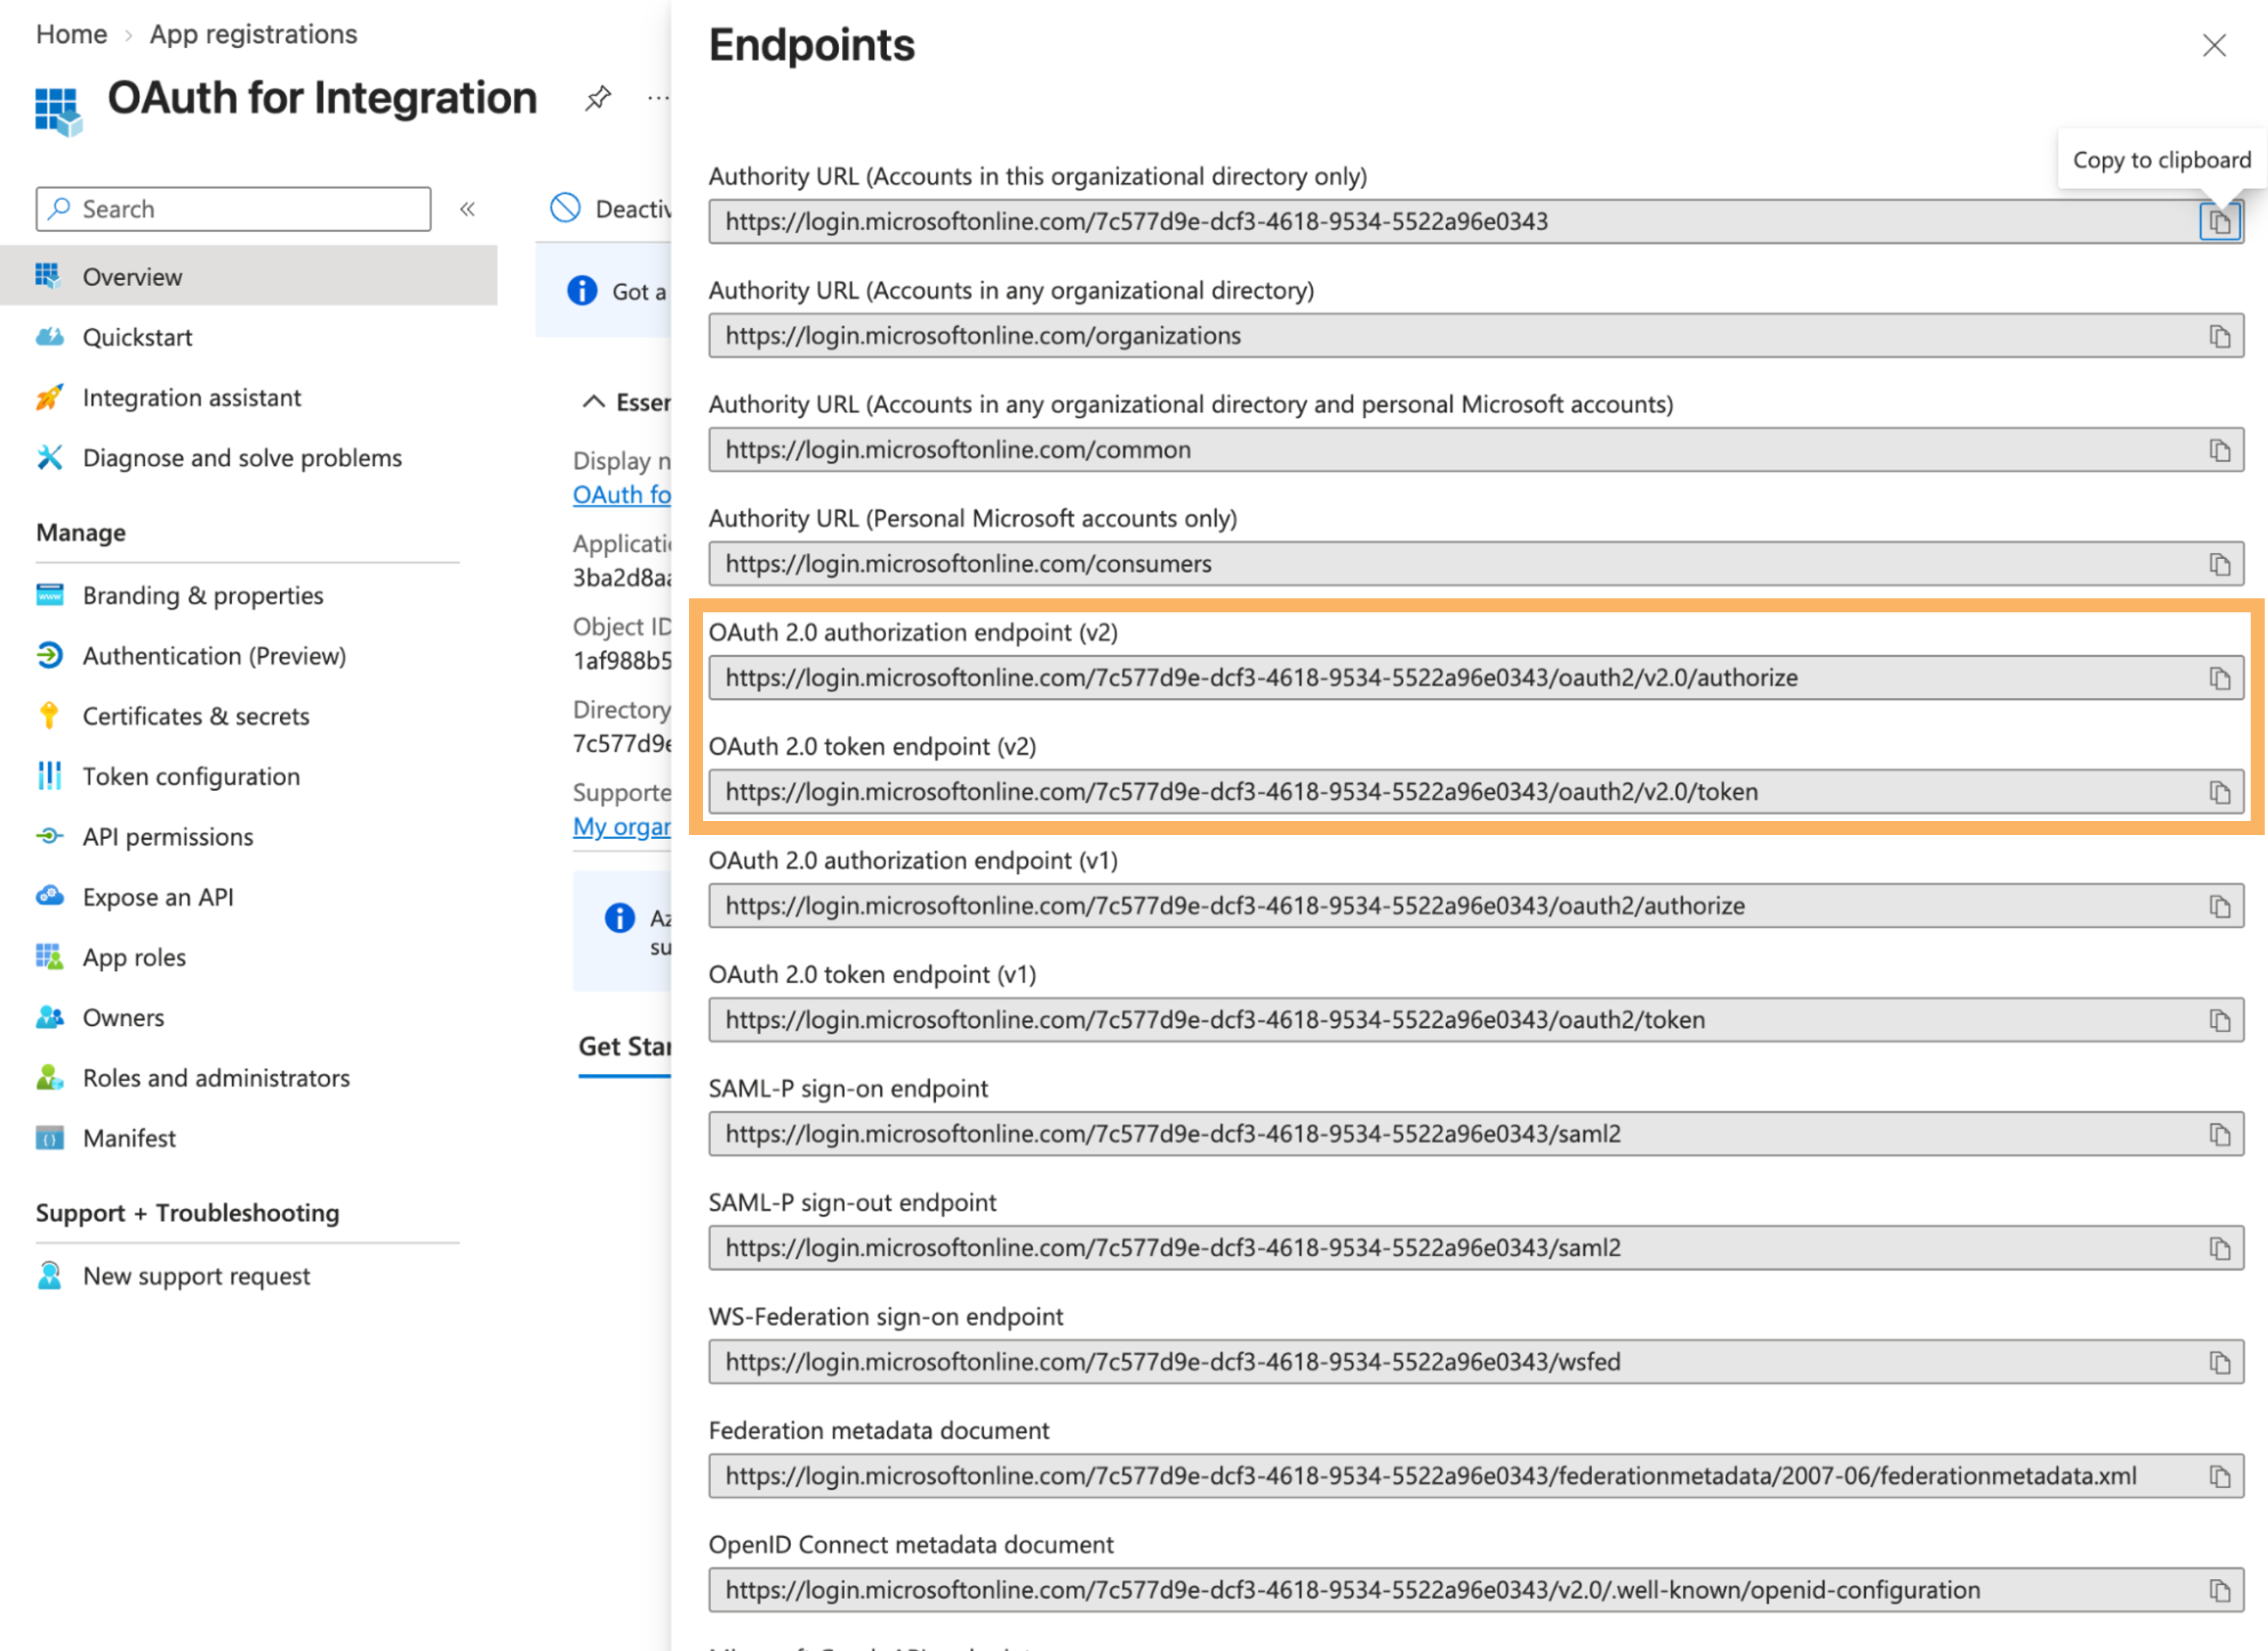
- Populate Auth URL with the OAuth 2.0 authorization endpoint (v2) obtained from your Entra ID application.
- Populate Access Token URL with the OAuth 2.0 token endpoint (v2) obtained from your Entra ID application.
- Populate Client ID with the Application (client) ID from your Entra ID application.
- Leave Client Secret blank.
- Set Code Challenge Mode to SHA-256.
- Populate Code Verifier with a random, 43-128 character string. Vault API uses this value to connect the authorization request to the token request.
- Populate Scope with your Entra ID Application (client) ID with
/.defaultappended to the end. For example,a1462b8b-7d69-4313-87c8-0897576cab6f/.default. - (Optional) Populate a State, which is an opaque value used for preventing cross-site request forgery.
- Set Client Authentication to Send client credentials in body.
-
Scroll down and click Get new access token.
-
Once authenticated, click Use Token.
-
Select the Headers tab and clear the X-VaultAPI-ClientID checkbox.
-
Select the Headers tab, then select the checkbox for vaultDNS and client_id. Set client_id to the Application Client ID from your client application in Vault.
-
Copy the Vault Session ID URL from your OAuth 2.0/OpenID Connect profile in Vault and paste it into the URL box in Postman.


-
Click Send.